History
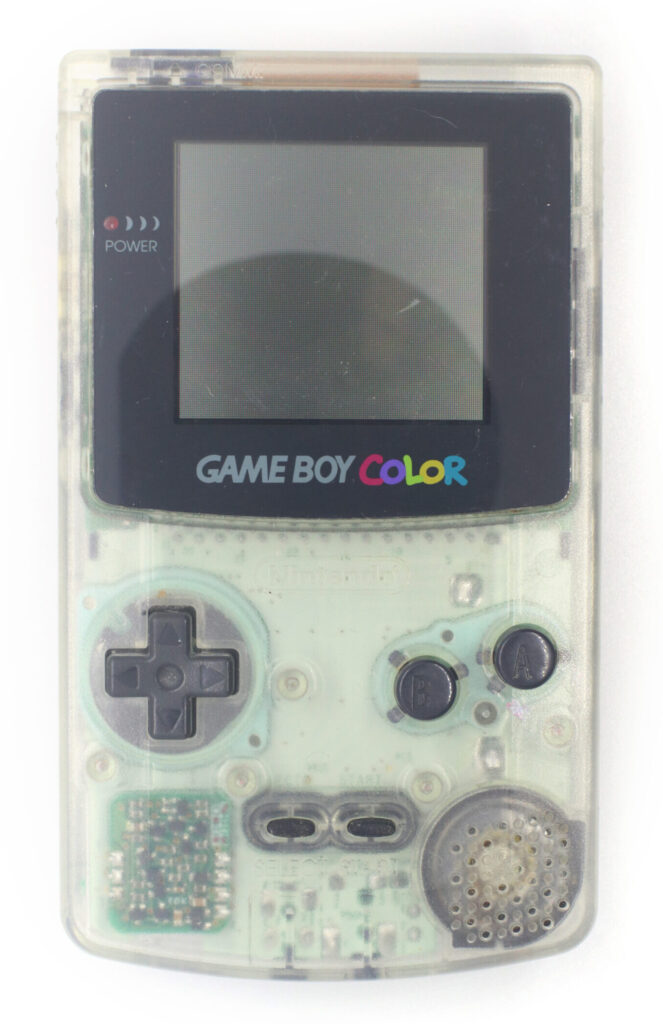
The Nintendo Gameboy Color, model CGB-001 was released in Japan on October 21, 1998 and in the rest of the world through November.
The successor of the original Nintendo Gameboy, it uses a TFT LCD screen to display up to 32,768 colours, and provides compatibility with existing Nintendo Gameboy games.
A number of Gameboy Color specific games were released which provided full colour palettes, while existing games were “upgraded” with a four colour palette which was selectable at power up.
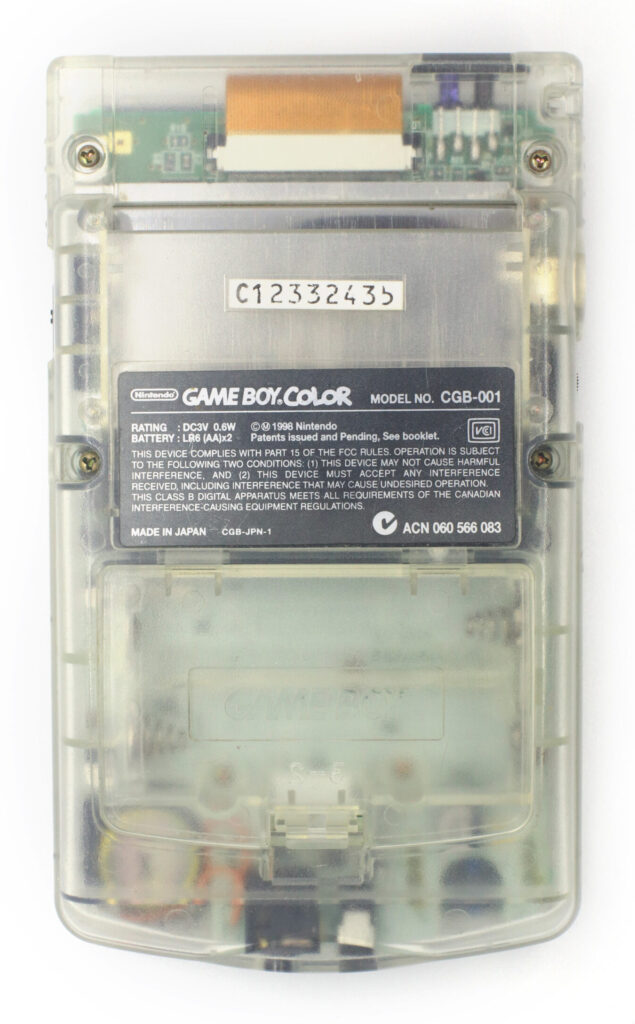
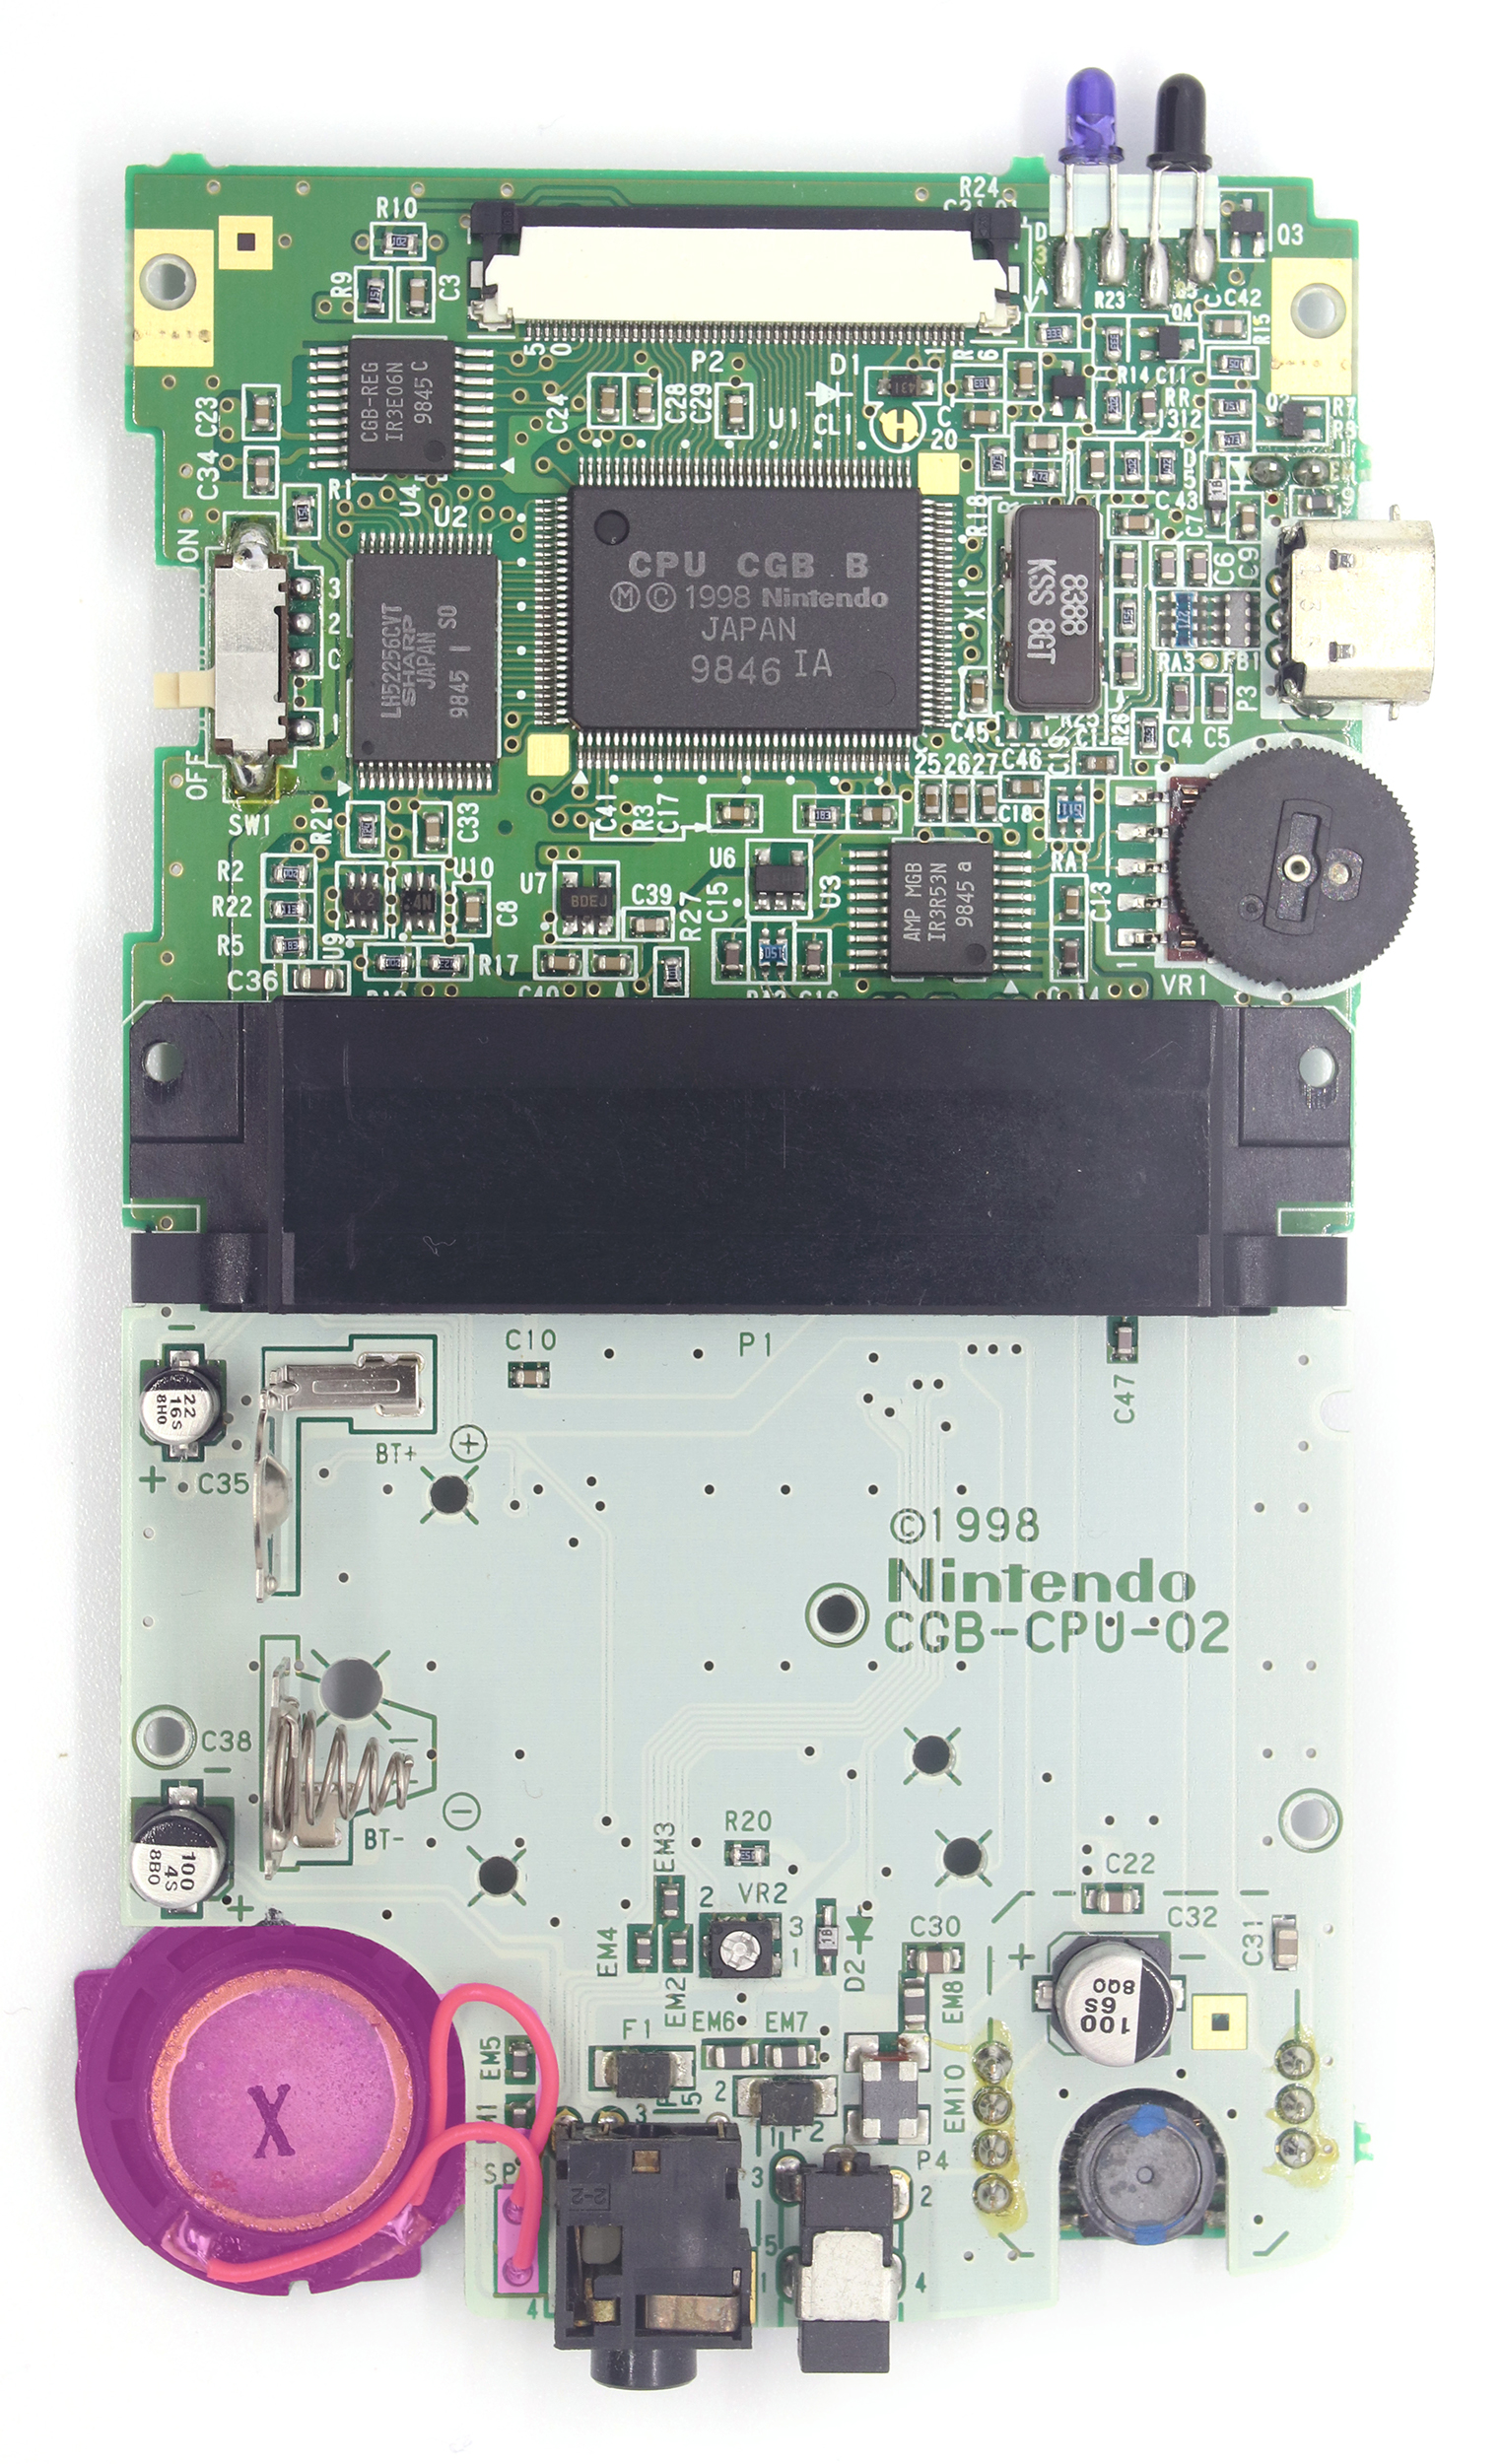
It was released in five basic colours, each denoted by a single letter in the word “Color” in the logo – Berry, Grape, Kiwi, Dandelion and Teal. A number of other limited and special edition colours were released in the system’s lifespan. The model used in this document is the Neotones Ice clear body (released in Japan and Australia), and contains the CGB-CPU-02 circuit board.
Powered by two AA size batteries, it provided around 10 hours of gameplay independent of the type of game cartridge used (original or Color). This was a significant downgrade from the original’s 30 hours of gameplay provided by four AA size batteries, but enabled the new handheld to be much more portable.
It weighed in at approximately 138 grams, and measured approximately 78mm wide by 133.5 mm high, and 27.4mm in depth at its thickest point. This made it slightly smaller than it’s main predecessor, the original Gameboy, which measured 90x148x32mm, but was considerably heavier at 220 grams.
It also provided a rarely used infrared communications port at the top of the unit, which was use for wireless linking of systems to share data and was only available in 17 games, usually to trade items or high scores.
The Gameboy Color also supported the same “EXT” link cable as the original Gameboy , and could connect up to four different devices in serial.
Detailed Tech Specs
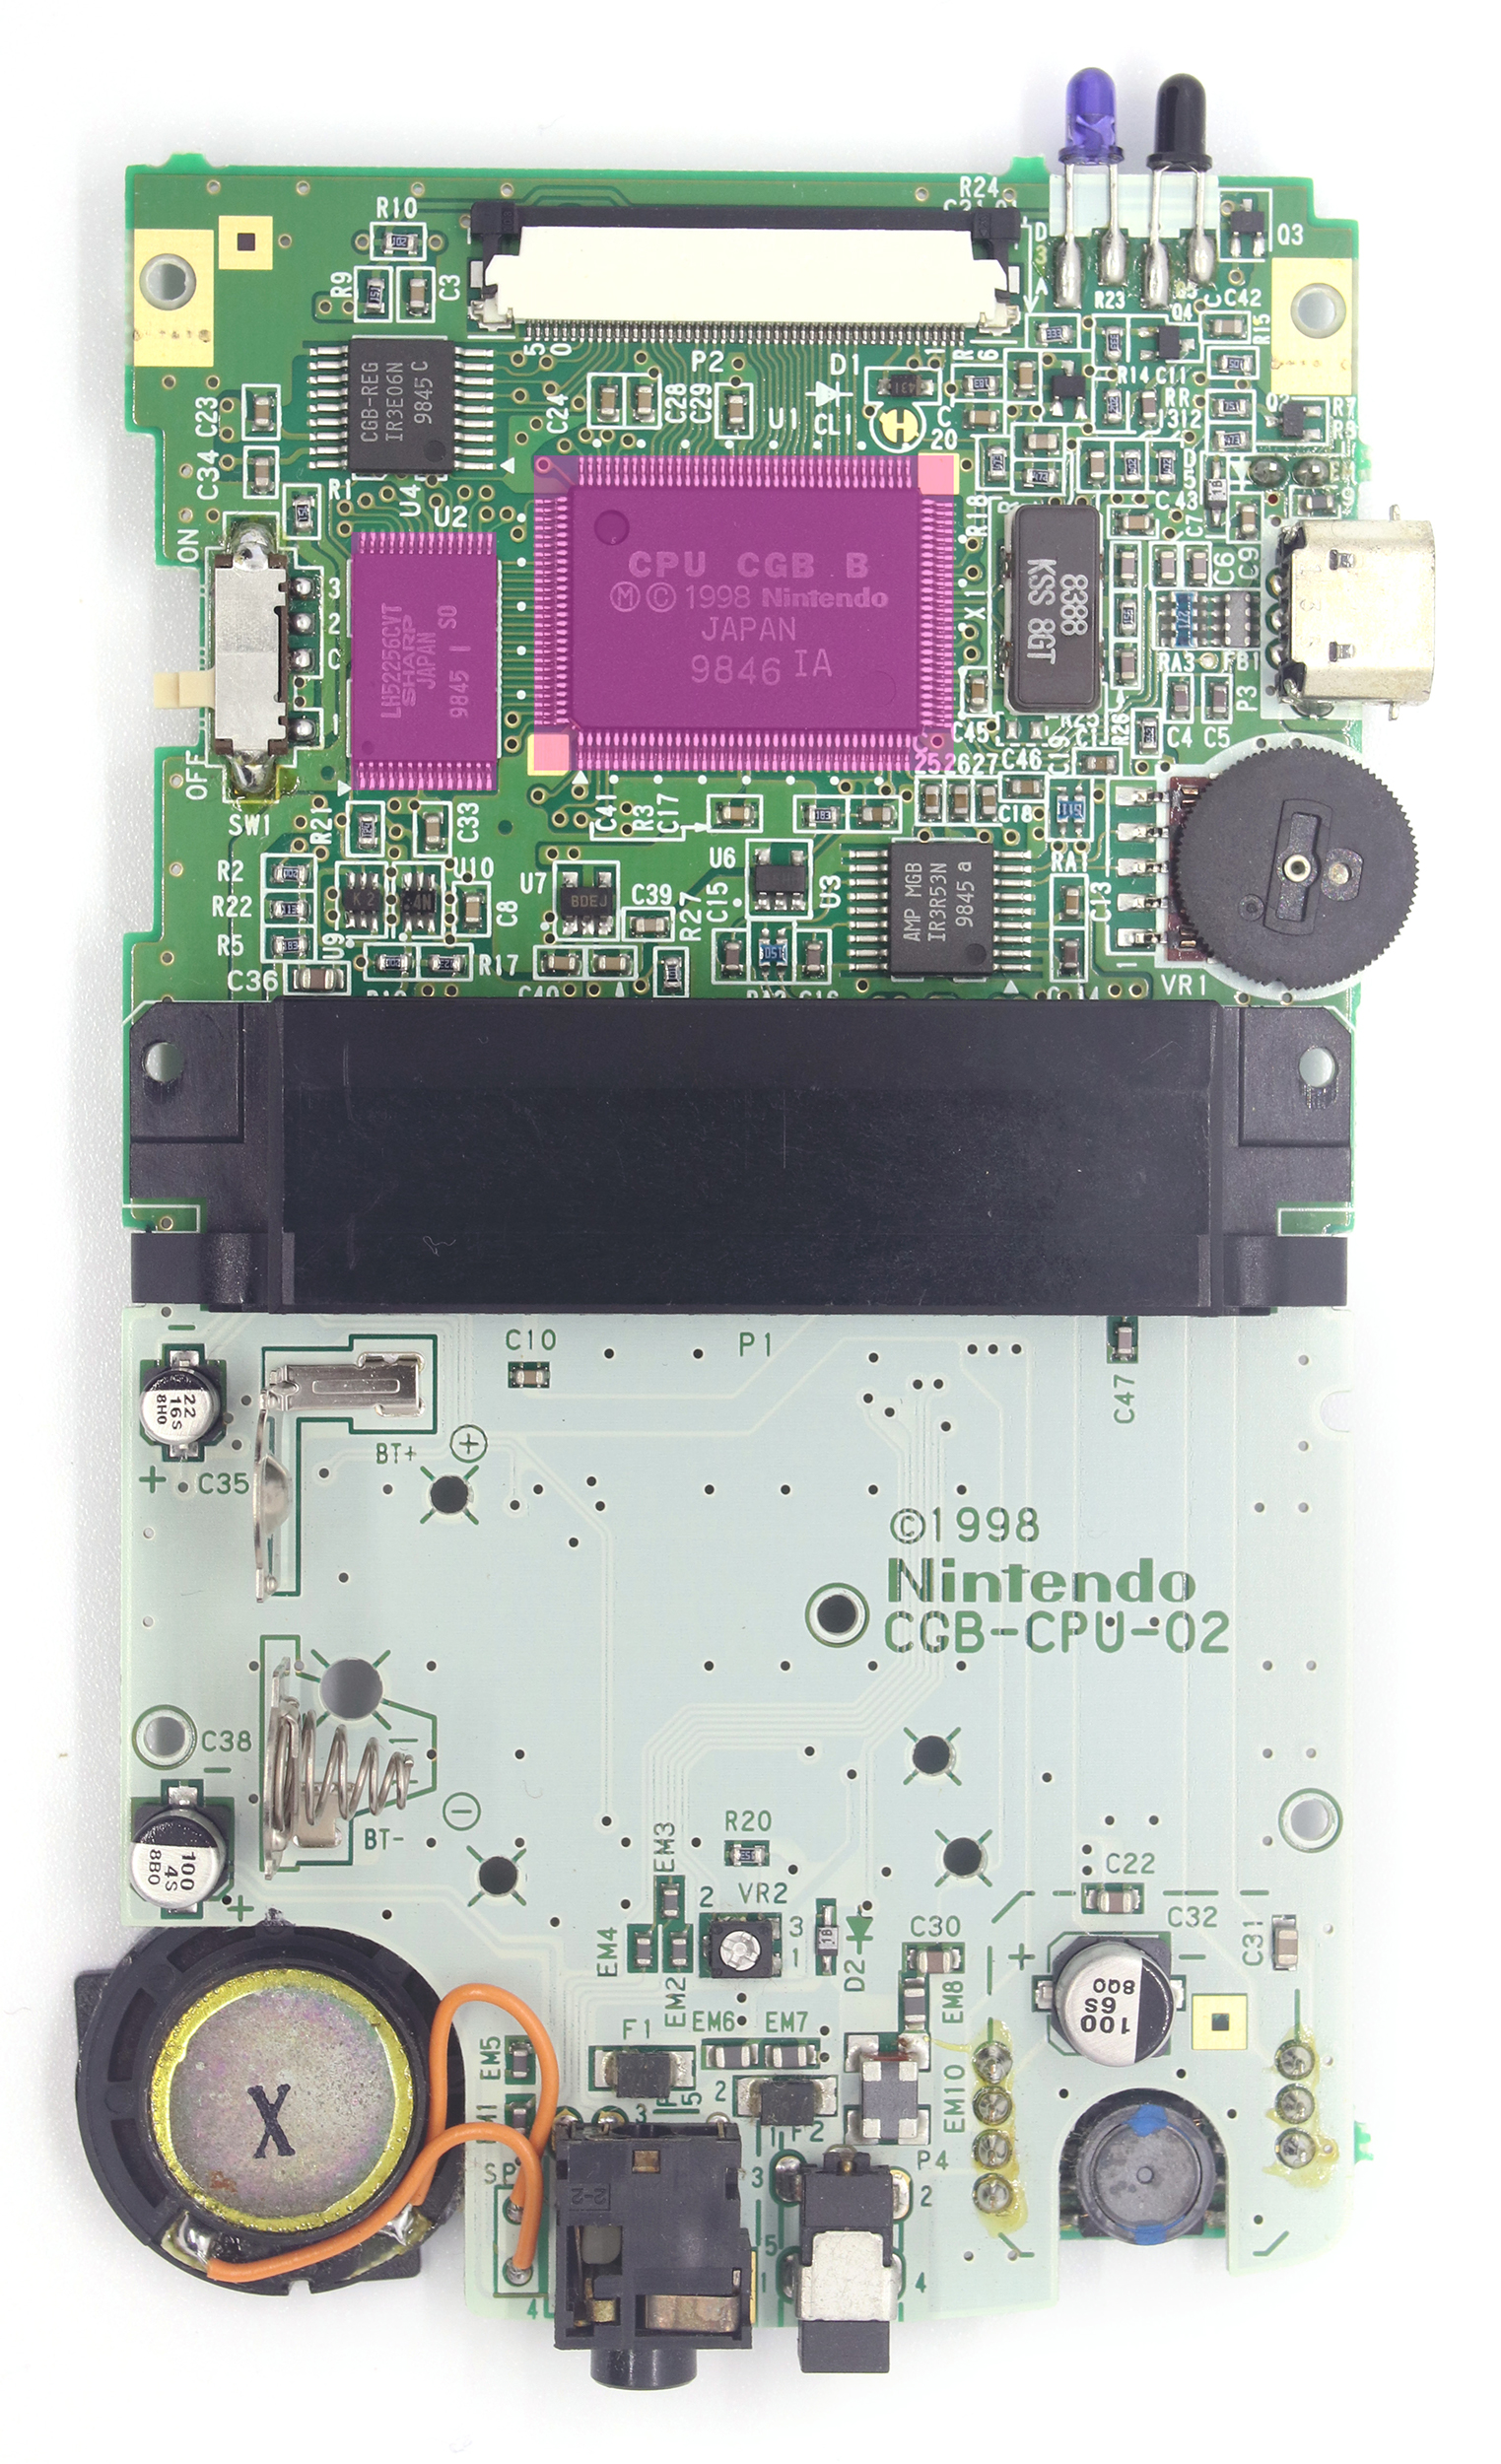
The CPU powering the Gameboy Color is the Sharp LR35902 running at 8.38 Mhz. This is the same CPU as the original Gameboy by with it’s clock speed doubled from 4.19 MHz.
Across the lifecycle of the GBC, it was revised four times to fix various bugs, glitches or crashes. These revisions are signified by the version code stamped on the CPU, in this case CPU CGB B – B being the second revision. BennVenn has much more detail on the CPU revisions than I would ever care to collect.
All GBC revisions were shipped with an upgraded 32 KiB of SRAM and 16 KiB of VRAM, which was an upgrade from the Gameboy’s 8 KiB of SRAM and VRAM.
Thanks to these specifications, the Gameboy Color was able to display a total of 32,768 colours, of which it could display up to 56 different colours on screen at any one time. It could display a maximum of 40 sprites, and 512 tiles on screen at once.
Common Failures and Repairs
Most failures in the Gameboy Color units come down to physical faults, such as cracked screens, broken plastics, batteries leaking and corroding terminals and so on.
These are all typically resolved by replacing the faulty part with either an original replacement part, or a third party replacement from a source such as eBay or, hey, our store.
The next two most common issues we have found with Gameboy Color units are quiet/distorted or no sound, or the unit not turning on at all.
In this document, we’ll cover some basic resolutions and recommendations for the most common issues we’ve found with repairing these handhelds, but if in doubt the best resource is right at your fingertips.
The main other place we would recommend you go for help is the Reddit community r/consolerepair – a very helpful bunch, always eager to help out with your questions and issues.
Quiet, Distorted or No Sound
Quiet/distorted/no sound is almost always caused by water ingress of the speaker, causing the coil to rust and the speaker cone to lose the ability to physically move.
The best course of action here is to replace the speaker entirely.
Special care must be taken when removing the speaker and desoldering the connection wires, to ensure you do not damage the headphone jack. As the jack is very close to the wires, you can easily melt the plastic!
We have found (but do not recommend) that you can dodgily get it working again by applying a very quick zap across the speaker terminals using an AA battery, but this rarely works at all, and often doesn’t work well. It does make a sharp and loud pop sound though, which is kinda neat.
Not Powering On
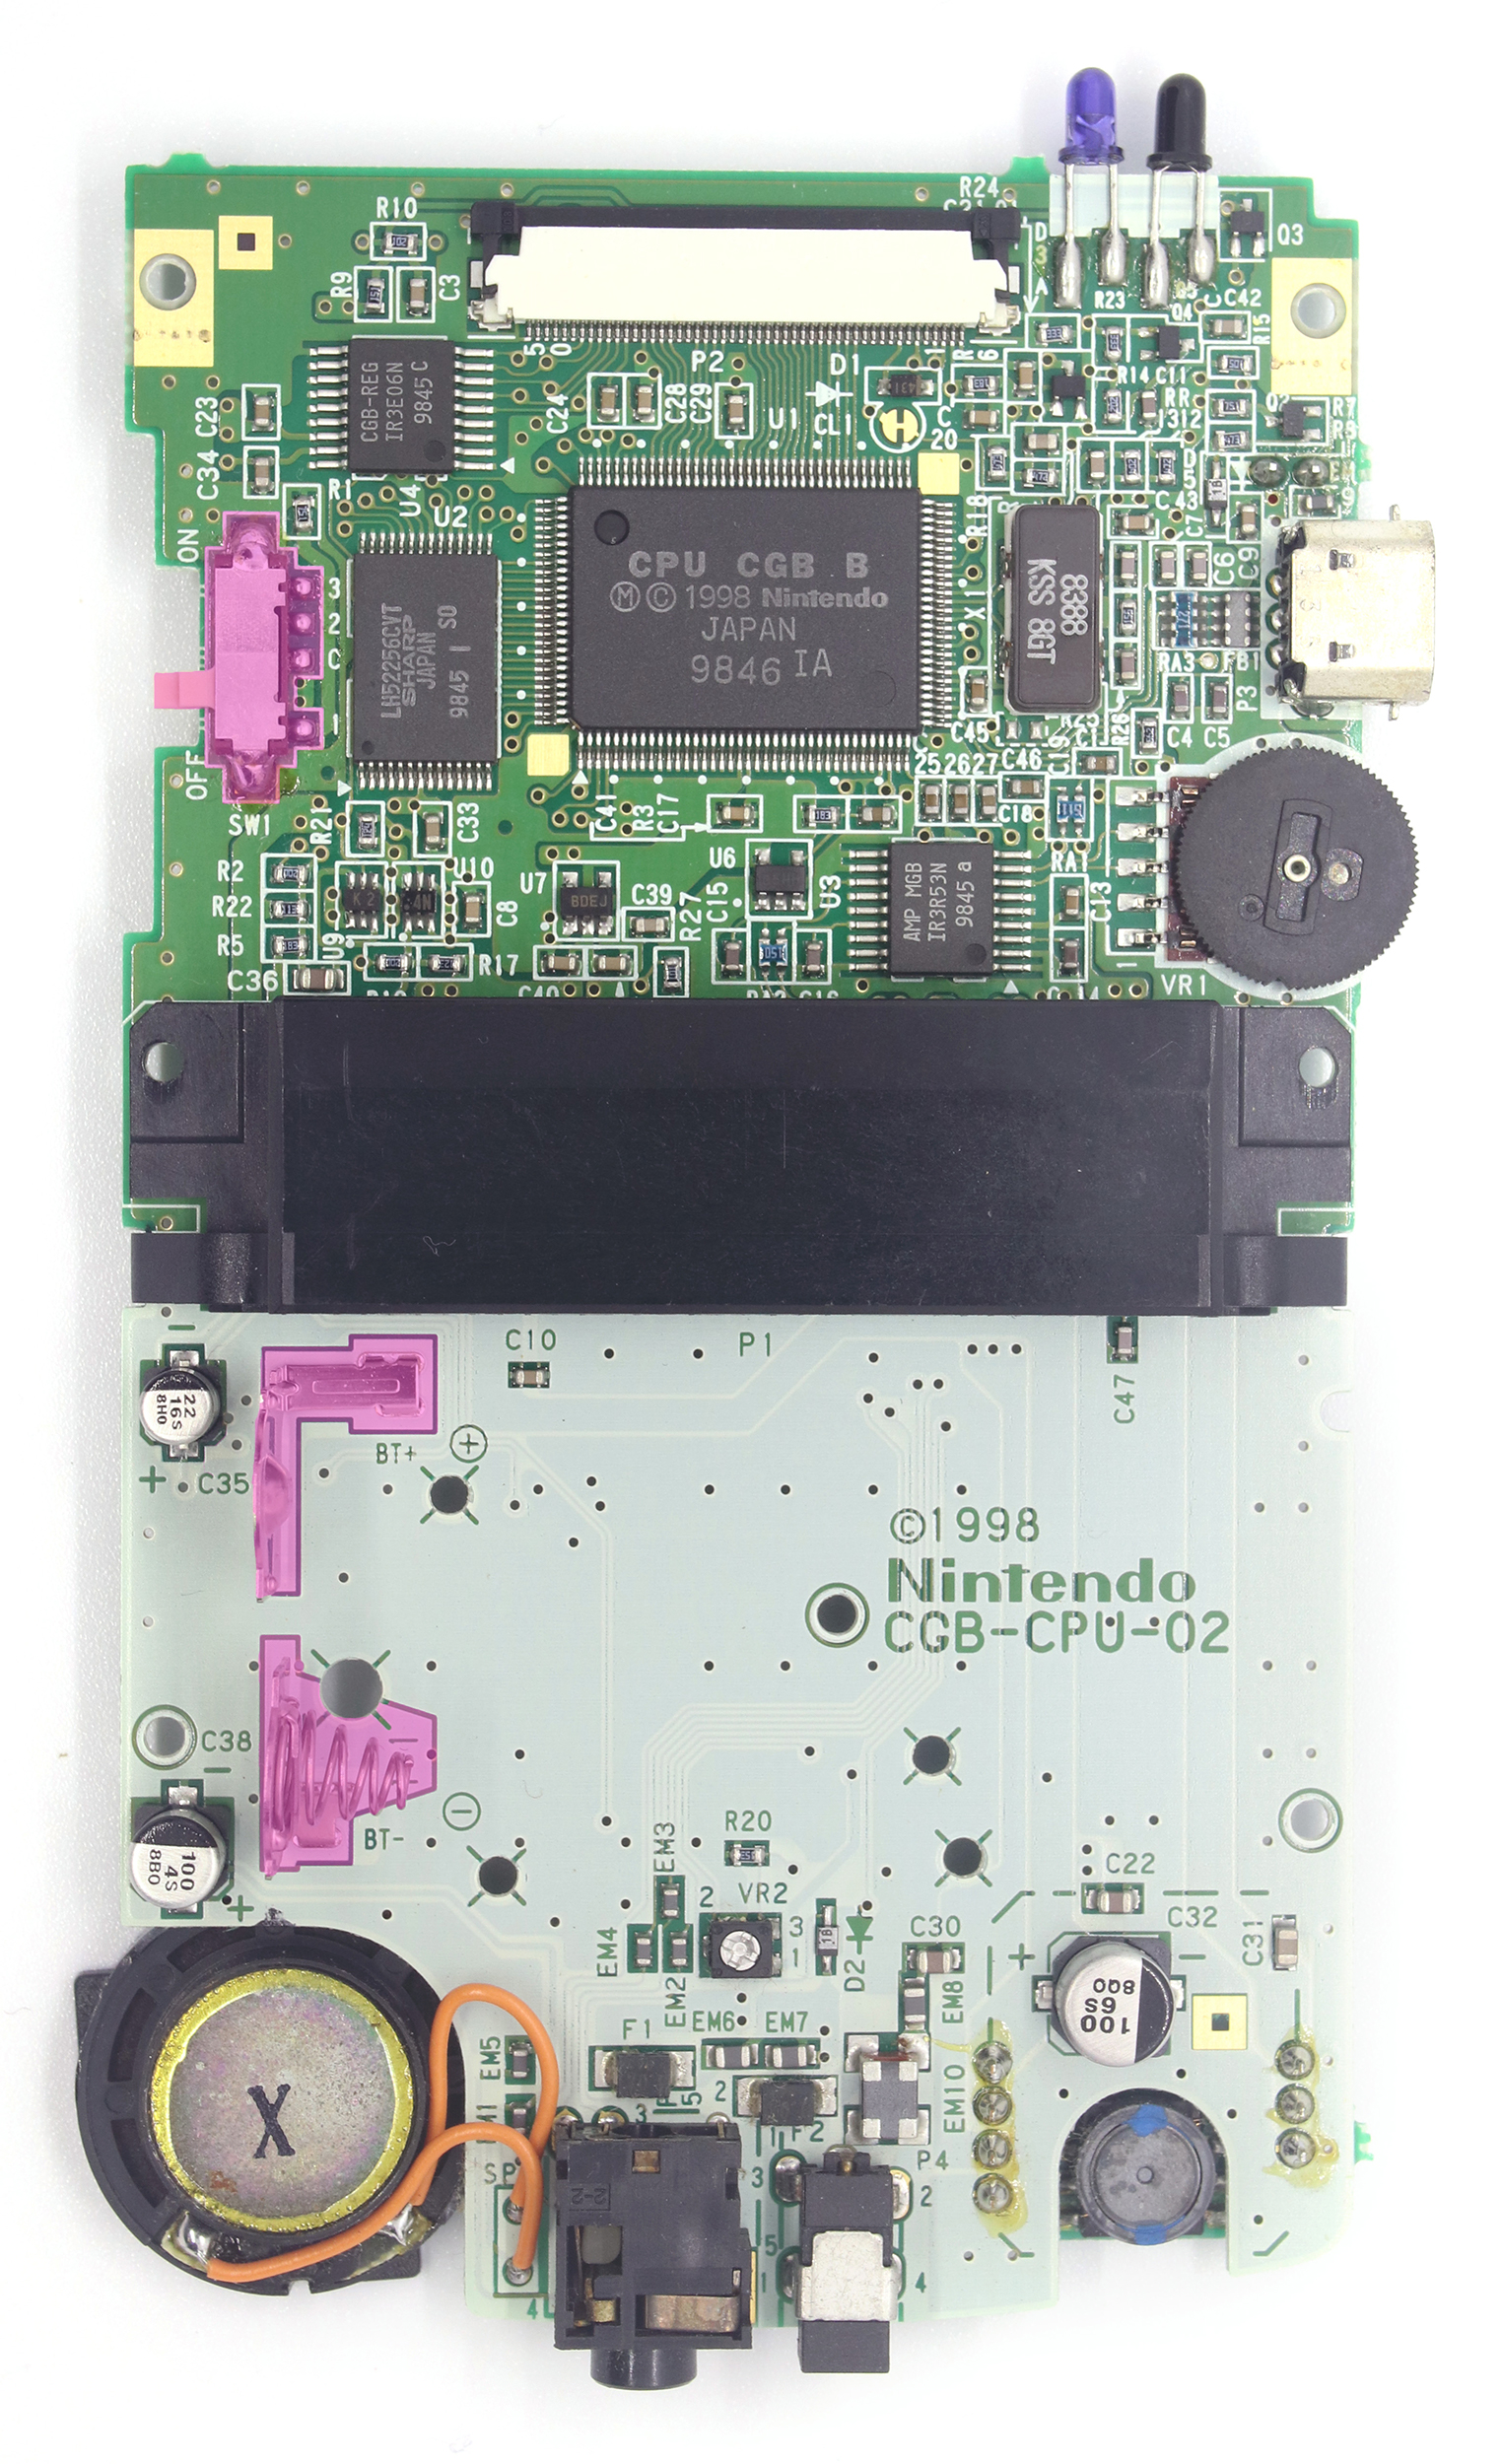
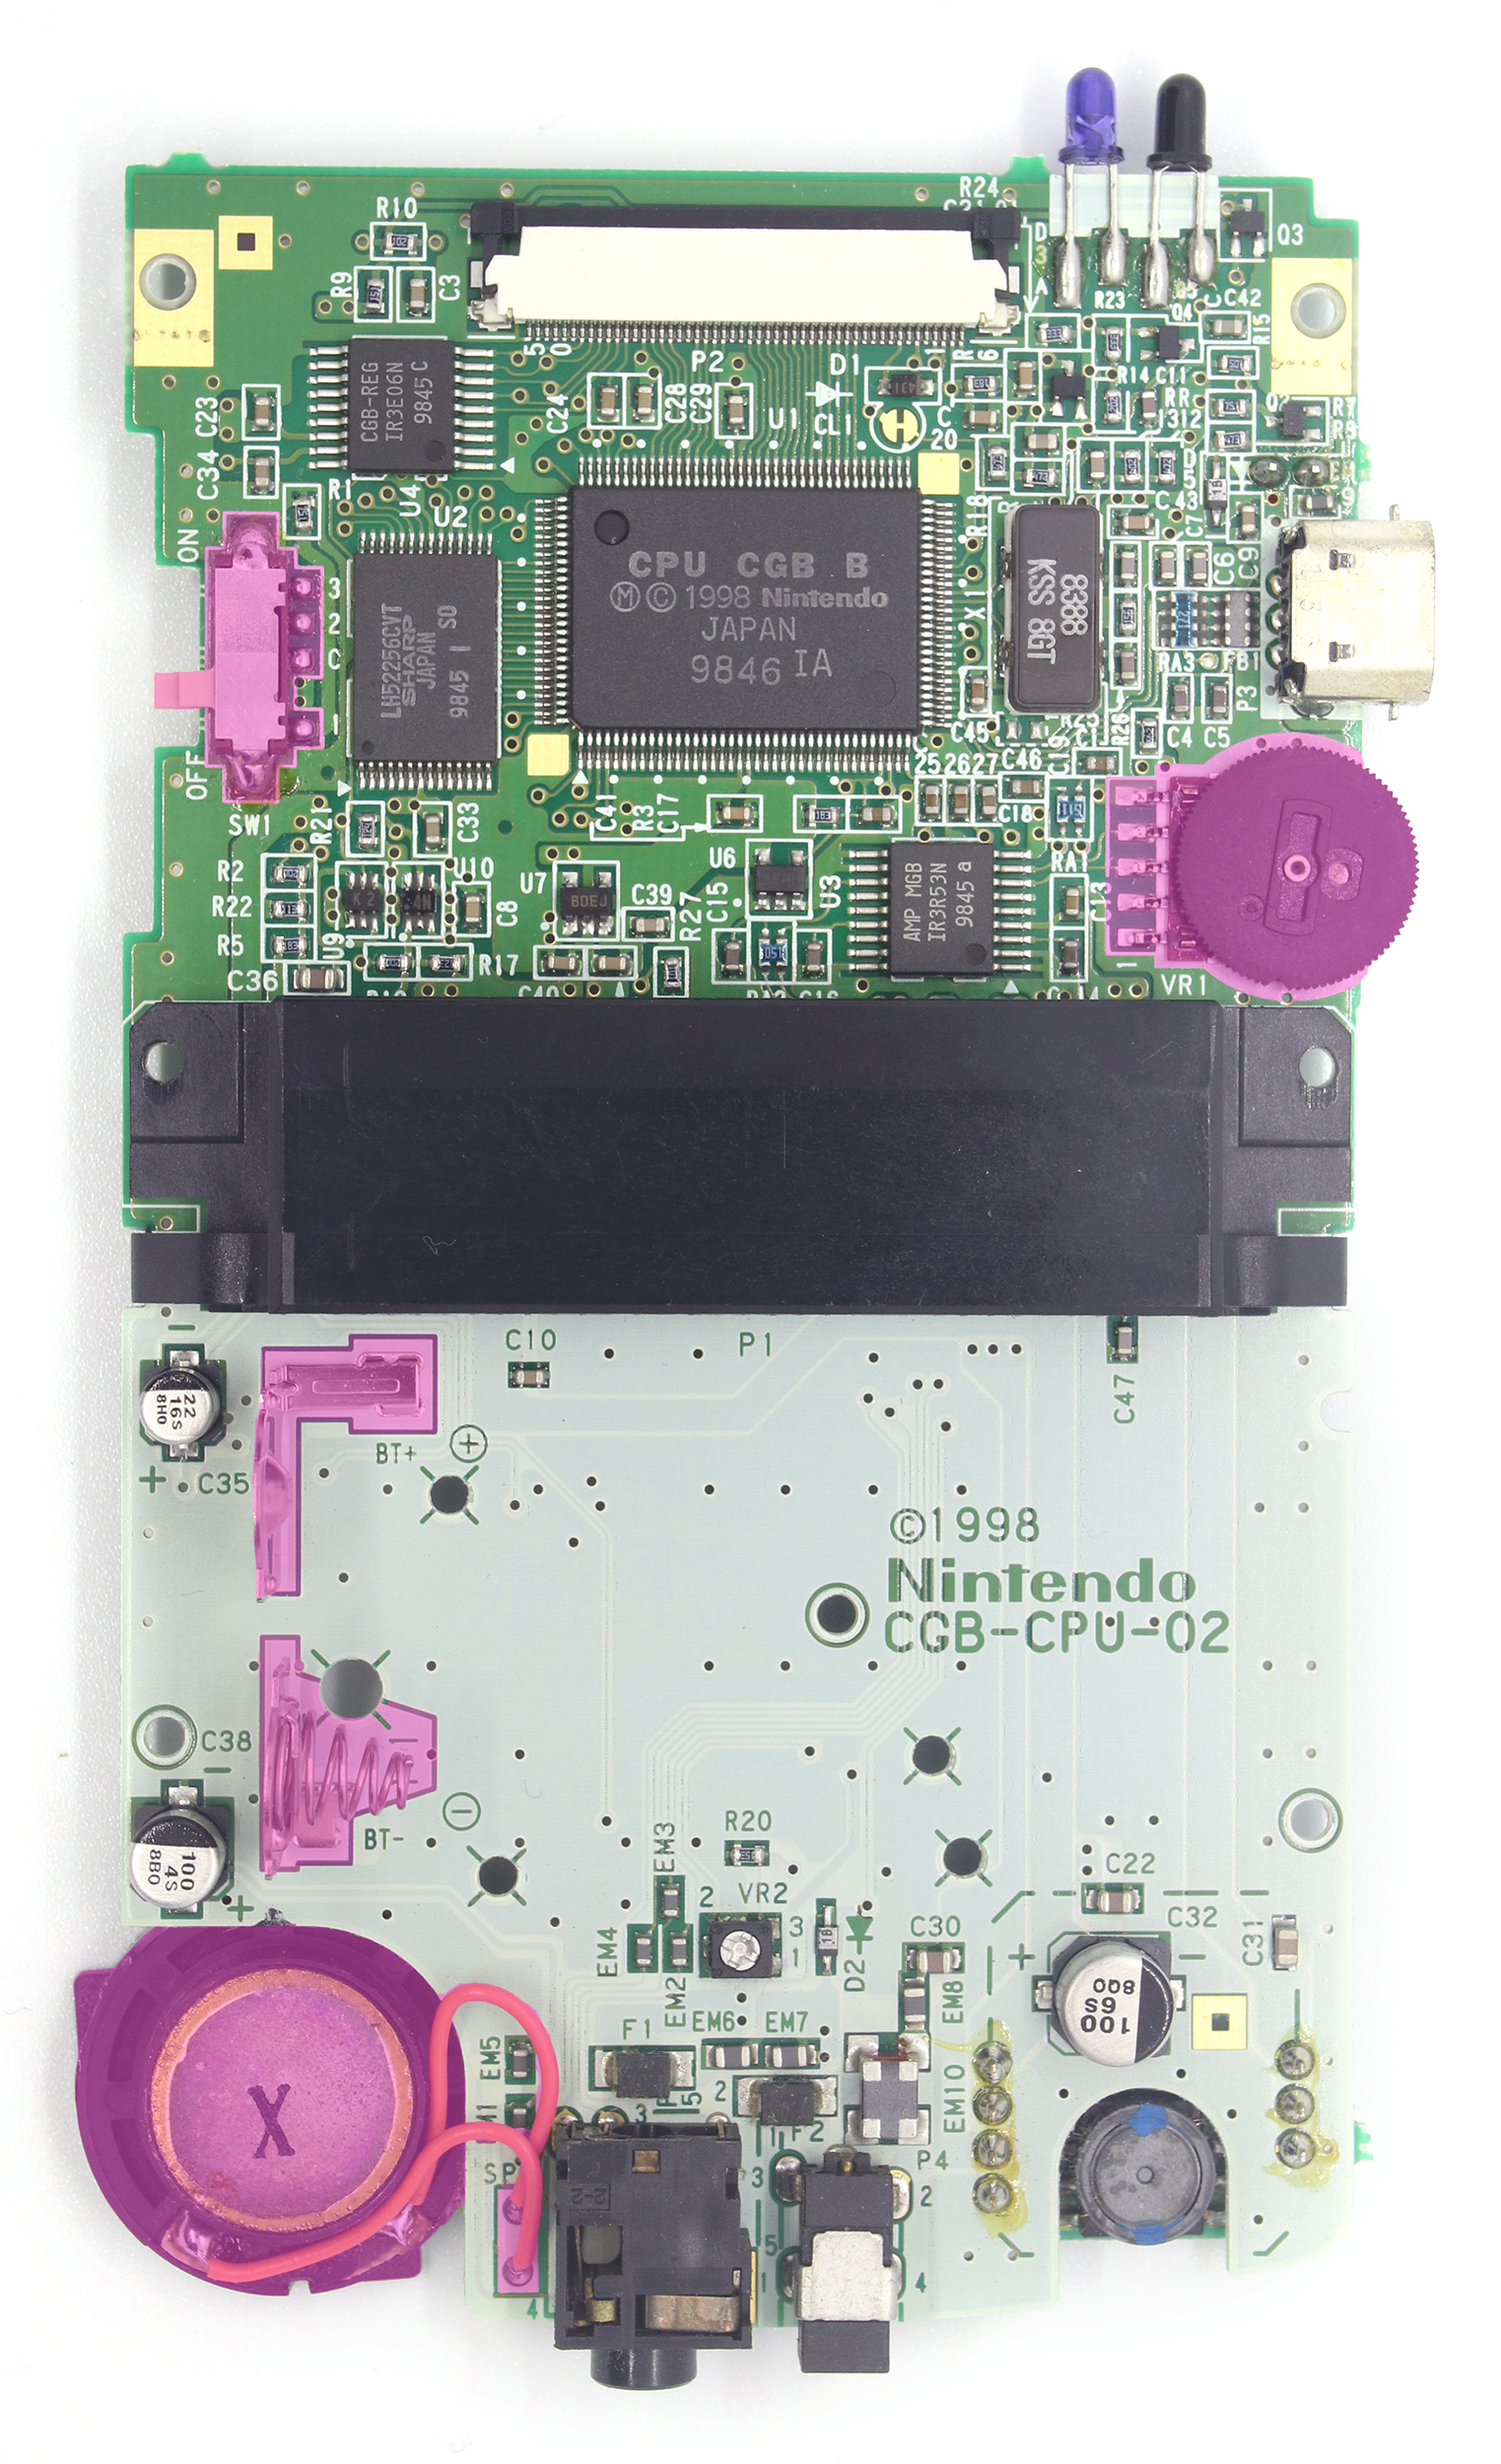
If the unit refuses to power on at all, often times either the battery terminals have corroded and are not making contact, or the power switch on the side is corroded.
A simple clean of the terminals and the switch with 99% isopropyl alcohol can often resolve this quickly, but for best results should also be replaced.
The best course of action for fixing a faulty power switch is to completely remove it from the board and place it in an ultrasonic cleaner (as used for jewelry) with a mild electronics solvent. Not all of us have this available, however, so we recommend going to town with isopropyl alcohol and a cotton swab while moving the switch on and off repeatedly, then giving it a good blast of compressed air.
The battery terminals are often damaged when old batteries are left in the unit, which are known to leak over time. This often causes crusty white or blue material to be deposited on the contacts, and can damage the unit.
As the leaking matter is battery acid, it’s recommended to neutralise it with some bicarbonate soda mixed with water, then rinsed heavily with isopropyl alcohol.
Preventative Maintenance
As is the case with many handheld and other retro consoles of this era, the electrolytic capacitors within are reaching or have reached their expected lifespan (approx 15 years), and as such are prone to leaking or drying out. This can manifest in gaming consoles as dim or low contrast screen, quiet or crackly audio or a failure to switch on entirely.
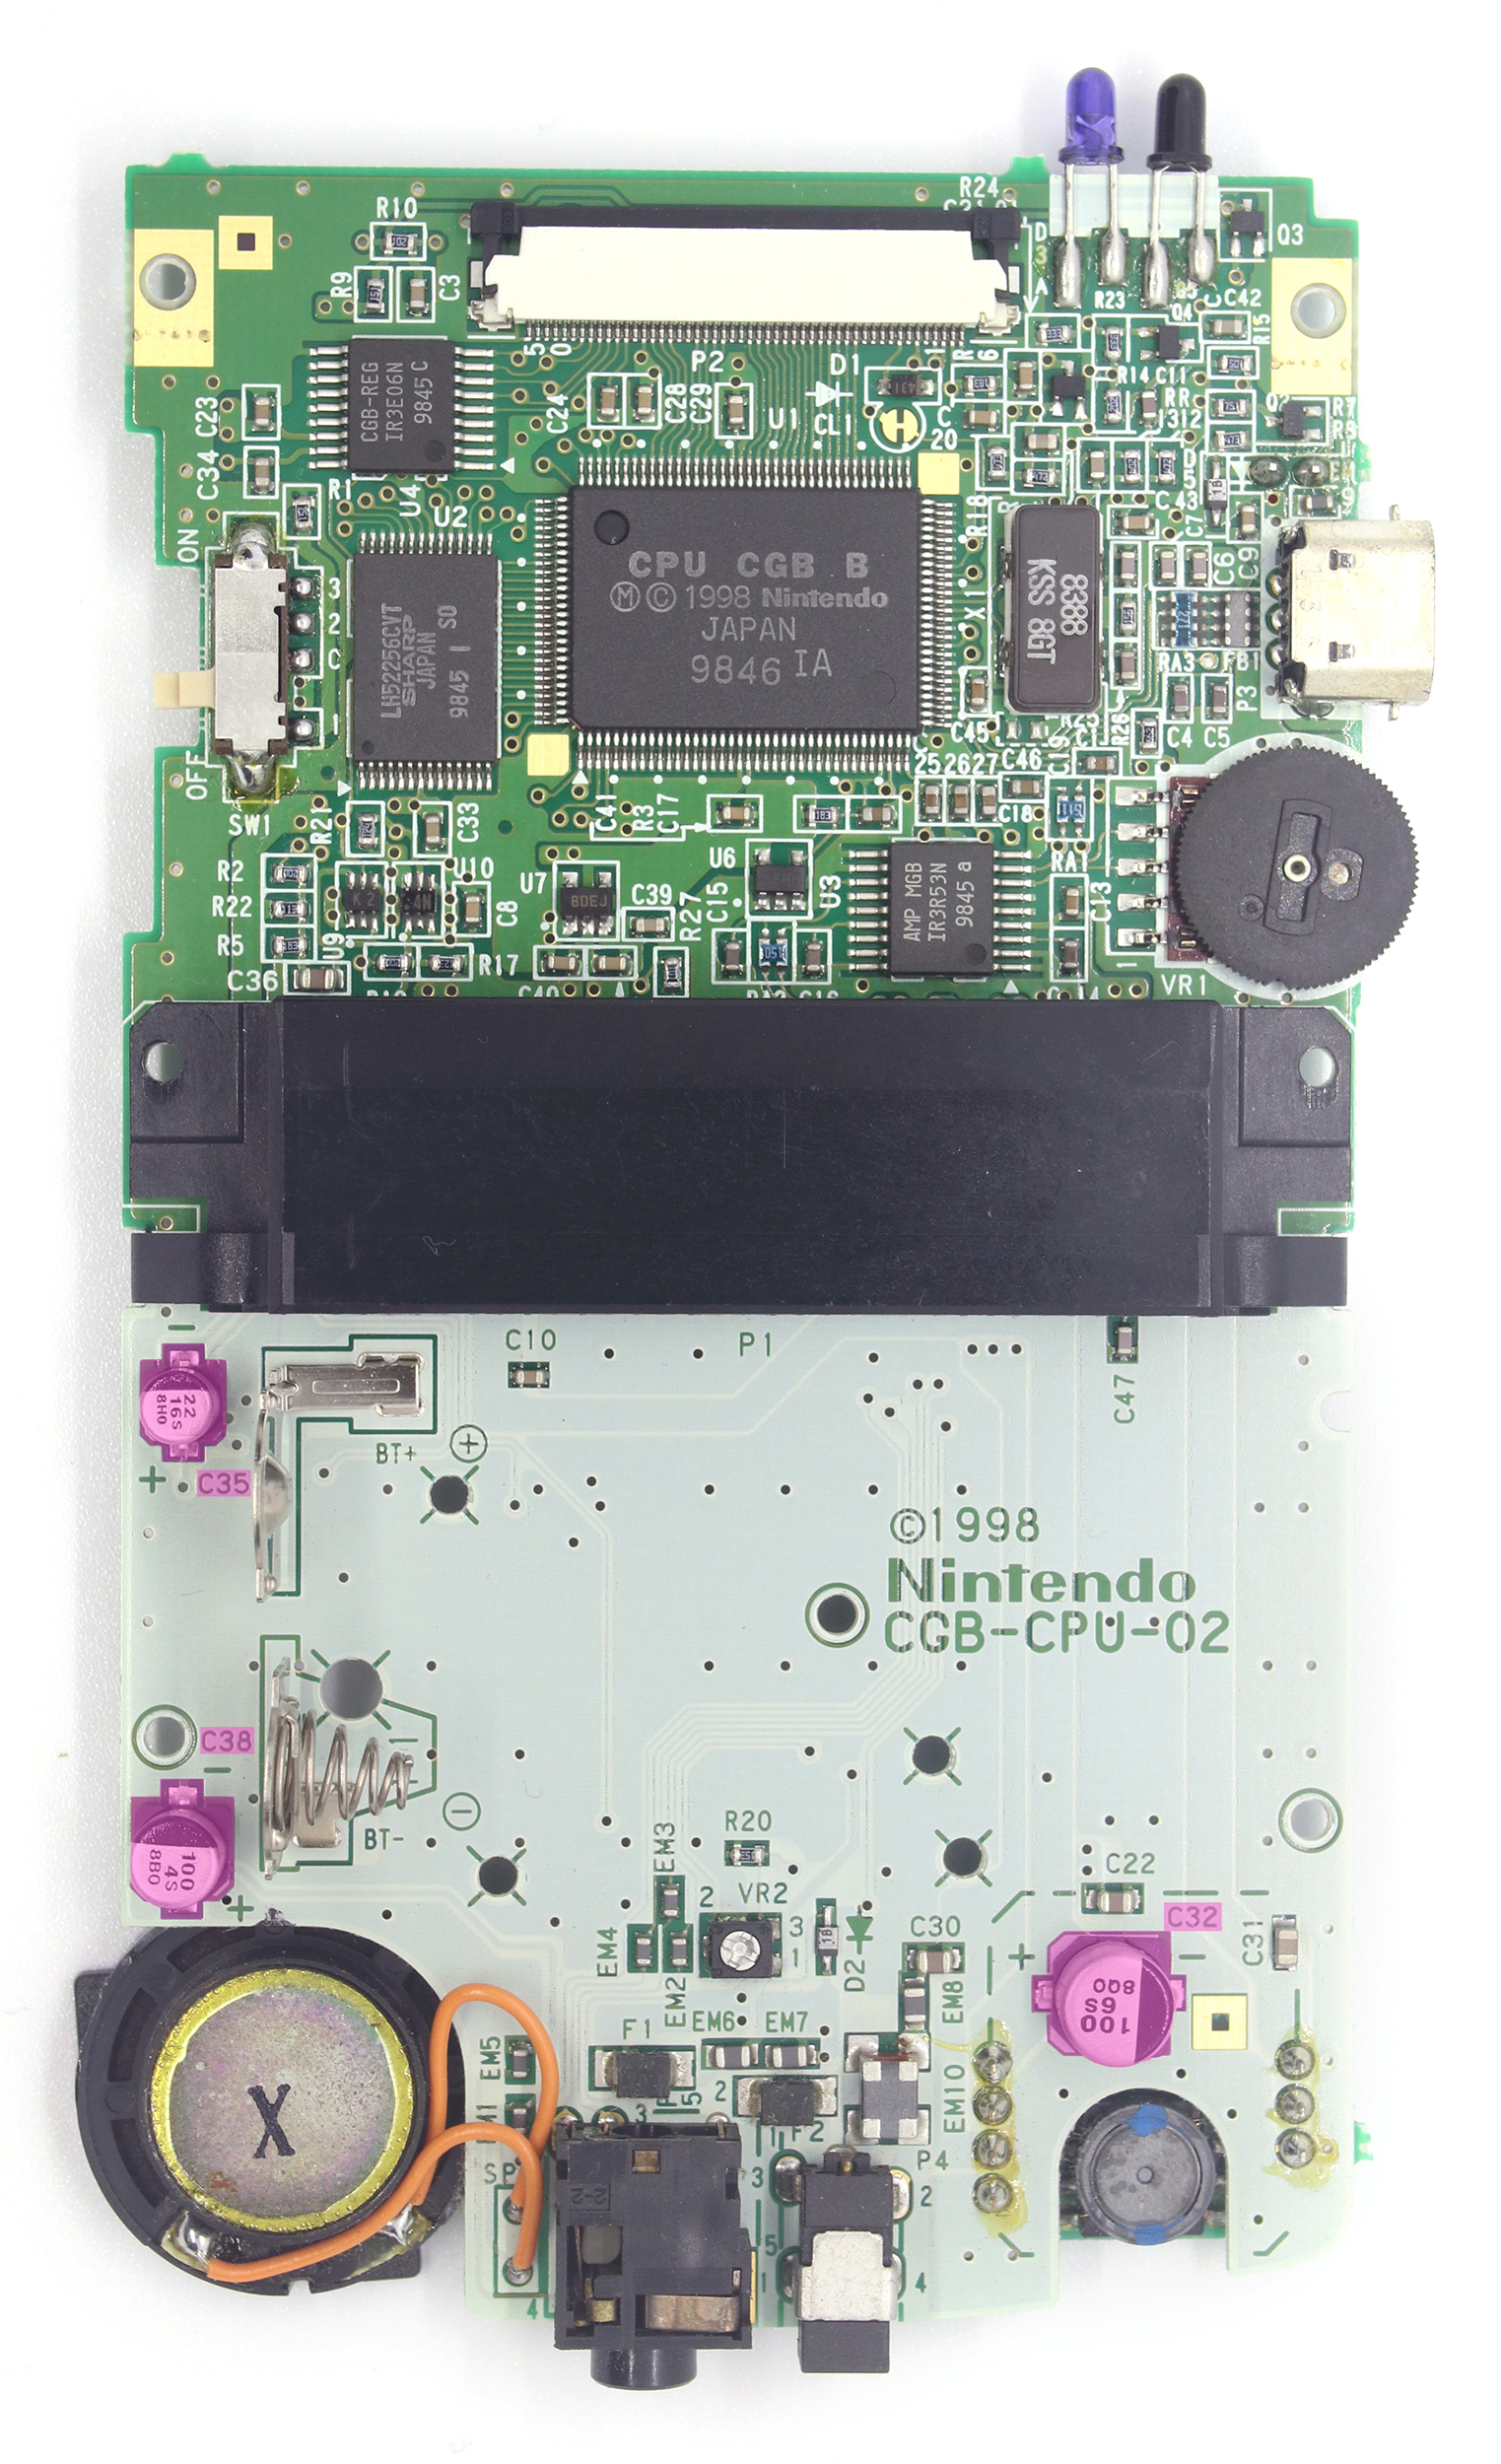
Due to the age of the Game Boy Color, we recommend that all units have these capacitors replaced to ensure they can live their full life. The capacitors within all GBC models are the same:
- C32 – 100uF 6.3V, measuring 6.3mm x 5.4mm
- C35 – 22uF 16V, measuring 4mm x 5.4mm
- C38 – 100uF 4V, measuring 5.2mm x 5.4mm
These three capacitors are surface-mount, which does increase the difficulty of replacement, but as they are far from any other components it is still a straightforward task. As space can be limited in this handheld, it is recommended to replace these like for like with surface-mount components.
Many images used in this article were from the Vanamo Online Game Museum