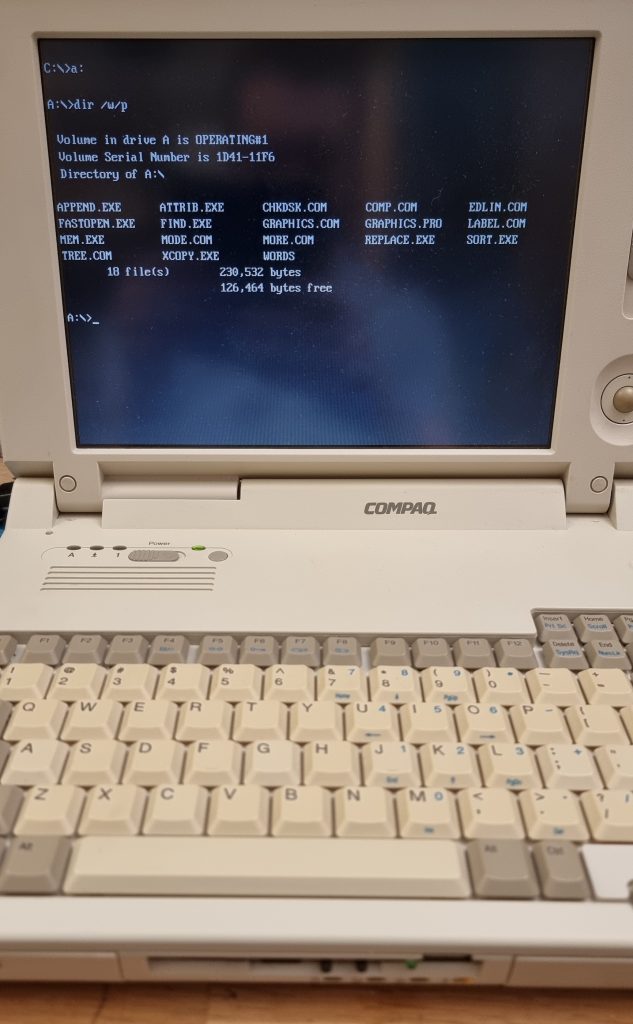
The OpenFlops W1D is a floppy drive emulator based on the OpenFlops build, which itself is inspired by the ubiquitous Gotek hardware. It was released in April 2023 and has since has been redesigned to suit multiple laptops that have used the Citizen W1D drive, but best suits the Compaq LTE Elite. It has also been updated to fix a few general “bugs” with the original Gotek hardware to enable FlashFloppy’s “enhanced” mode, and improves on the previous version by now including a microSD slot! (rev.7+)
The original Citizen W1D floppy drives are very prone to failure with their age, and not very receptive to repair attempts. From loose or gummed drive belts to dead SMD capacitors to miscellaneous grumpiness, they are less and less likely to survive daily use these days. In addition, the W1D has slightly smaller dimensions to regular 2.5″ laptop floppy drives, so the standard Gotek 26-pin often won’t fit inside the space the original W1D occupies in some laptop chassis.
Installation
This product requires no modification of your Compaq LTE Elite plastics, all you need to do is unplug and lift out the stock W1D drive, remove two screws from the mainboard, slot this board into place, plug it in and screw it down. Too easy!
Newer revisions (rev.10+) have a locking lever on the ribbon connector that you need to lift before inserting the cable, and lock down once inserted!
For installation in systems other than the Compaq LTE Elite, included are four 3D-printed and M2.5 threaded stand-offs that can be glued to the OpenFlops W1D board in order to replicate the original Citizen W1D mounting screws.
There’s also a switch next to the ribbon connector now (rev.10+), which switches between standard IBM PC standard (default) or Shugart standard. In most circumstances, just leave this set to IBM PC. In previous revisions, this was a jumper.

Usage
Out of the box, all OpenFlops W1D units are tested, pre-configured, and ready for use as soon as you receive it.
All you need to do is format a microSD card or USB stick with FAT32, then load your image files onto it. FlashFloppy supports the IMG, IMA, or DSK image file formats. You can group files by directories, or leave them all together, entirely up to you.
Unless you’re intending to boot from your floppy media, I recommend you leave your memory device unplugged until your computer is booted. Once powered on, you’ll be prompted with the FlashFloppy idle screen.
Plug in your media and the screen will change to a file menu. You can then use the two buttons to navigate. Select an item by stopping in the menu for two seconds, at which point that item will be selected – i.e. if you stop on a directory, the menu will traverse into there, or if you stop on an image, the menu will mount that image.
Once you’ve found the image you want to mount, it should then simply be available as your floppy drive! Switch to A: and enjoy!
Configuration
If you would like to tweak under the hood, almost all configuration values provided by the FlashFloppy firmware are available. See https://github.com/keirf/flashfloppy/wiki/FF.CFG-Configuration-File for details. The ff.cfg file is not created by default, so if you would like to change these options, simply create a new file with the values you’d like to change.
The only caveat is that certain settings are required due to the custom build. The bare minimum required ff.cfg configuration contents is as follows, and changing these options may cause the OpenFlops W1D to no longer function correctly:
interface = ibmpc
host = pc-dos
The following settings are the remainder of the defaults provided, and are recommended for general use:
max-cyl = 80
twobutton-action = eject
rotary = none
display-type = oled-128x32-narrow
step-volume = 20
Compatibility
Here is a list of laptops that the W1D is known tested and working in:
- Compaq LTE Elite (all models)
- Compaq Armada 4100
- Siemens Nixdorf PCD-5ND
- AT&T Globalyst 200s
- Toshiba T4400CT (see Toshiba note below)
Toshiba laptops
Tested and confirmed, the Toshiba laptops require a different signal for the pin34 setting. Change the switch next to the ribbon connector from IBM PC to Shugart and try again.
If you’re getting an error noting “Drive Not Ready” when attempting to switch to A: or issue any disk commands, add the following into the ff.cfg file on your media, then reboot and try again.
pin34 = rdyIf it’s still not working, please contact me and we can try to work it out!
Extras
Need a replacement ribbon cable to go along with this? We’ve made one of those too! Check it out: Compaq FPC Floppy Drive Ribbon Replacement
With great thanks to:
- SukkoPera for the original OpenFlops design
- keirf for the wonderful FlashFloppy
- Eric B and Tim MC for assistance with troubleshooting Toshiba laptop support
- Gerhard P for testing Siemens Nixdorf PCD-5ND support
- KL for testing AT&T Globalyst 200s support
Notice! Fault in “rev.10” units (2025-01-30)
I’ve recently discovered a fault in the “rev.10” manufactured boards that can cause corruption or damage to USB sticks inserted into the port while powered on. Due to a mistake while optimising the design for this revision, I have used a new USB port that has the pins reversed from their standard, and as such when a USB stick is inserted into the port, the 5v rail is shorted to ground, causing the laptop to power off.
I have fixed this going forward in all units I’m shipping out (incl rev.10’s I had in stock) and I’ve already reached out to everyone who has purchased an affected unit, so if you have a rev.10 unit and have not received a direct email from me about this, it means that your W1D is fine to use.
